Welcome to Picadilly & Company

Picadilly & Company, creating home decor knick knacks one party at a time. We provide you and your guests a fun evening creating a home decor items while in your home. It's a great venue for a Girls Night Out, family get together, etc. However, before we can create them in your home, I create them for my home. And there are some things I do, that I just cannot bring to someone's home. So, check out what I'm working on, maybe it will inspire you. To visit the company website, go to http://www.picadillyandcompany.com/
Currently I am preparing for our holiday homes tour. I will begin decorating for Christmas the day after Thanksgiving. In the meantime I am creating different projects to decorate with. So, the ideas I am sharing do not show the final stage often due to that. In December I will post pictures of the final outcome. Thanks for stopping by. And please, check out the website above!
Michelle


11.30.2011

Branching Out.

Love, Love, Love what I did today and it was free and soooooo easy. I simply got Christmas tree branches from a local store that trims the bottoms off for customers. They are FREE! I put them in a glass cookie jar I have. I was going to tie a burlap bow around it and be done. Then, I had another idea. I used scrap burlap I had and hot glued a burlap message around it instead. I created my own stencil for the lettering. You can see how to do that here: http://picadillyandcompany.blogspot.com/2011/10/welcoming-in-fall-harvest.html I stenciled the word 'tree'. I do find it difficult to stencil this way with small letters and therefore decided to make a tag. I simply made from the computer saying "Oh Christmas". I REALLY like the simplicity and impact of it. And since we don't have 'real' trees, the branches add an evergreen scent in our home.

Clustering

To help make plain ornaments look fancy, cluster them together. I did this on our mantle to help brighten it up a bit. We have a black mantle with our television, so I have a challenge every year on how to make an impact. To do this I simply wired them together.
I also clustered 3 ornaments together with ribbon and added them to our Christmas tree.

Hydrangeas Are Everywhere!

As I have mentioned, I love bringing the outside in. I have done this by drying and saving my hydrangeas. I thought I would share with you all the places I have used them.: In my garland going up the bannister and over the top of my door:
In both my Christmas trees:
And my favorite in this little arrangement I made with curly willow from our backyard.
I also added the curly willow branches above our dinner table. Topped off with berry stems (which aren't so real).

11.29.2011

Simple Message

I am busy decking out everything for Christmas. So today's craft is a simple way to share a message. I simply used tags tied around my Picadilly candle holders spelling the word 'joy'. I used stickers for the letters, aged the tags with a brown rubberstamp ink pad and topped them with ribbon. A sweet little reminder to help me stay focused on the attitude I should have this season.

11.27.2011

Homemade Stocking

You know how you get a vision for something, and then it just seems like it goes a totally different direction. Well, that is how this project started from the beginning. Originally I wantd to make a stocking that was all red mattress ticking and some burlap possibly. Well, long story short, due to pricing I ended up using osnaburg fabric with red mattress ticking as the accent. I like the osnaburg, because it has a natural look along the lines as muslin and linen type look, but it is much cheaper. My plan was to make this for our front door with an floral arrangement coming out. Supplies needed to make stocking: 1/2 yard osnaburg fabric 1/4 yard red mattress ticking thread plastic ring to hang stocking with or make one from fabric. 
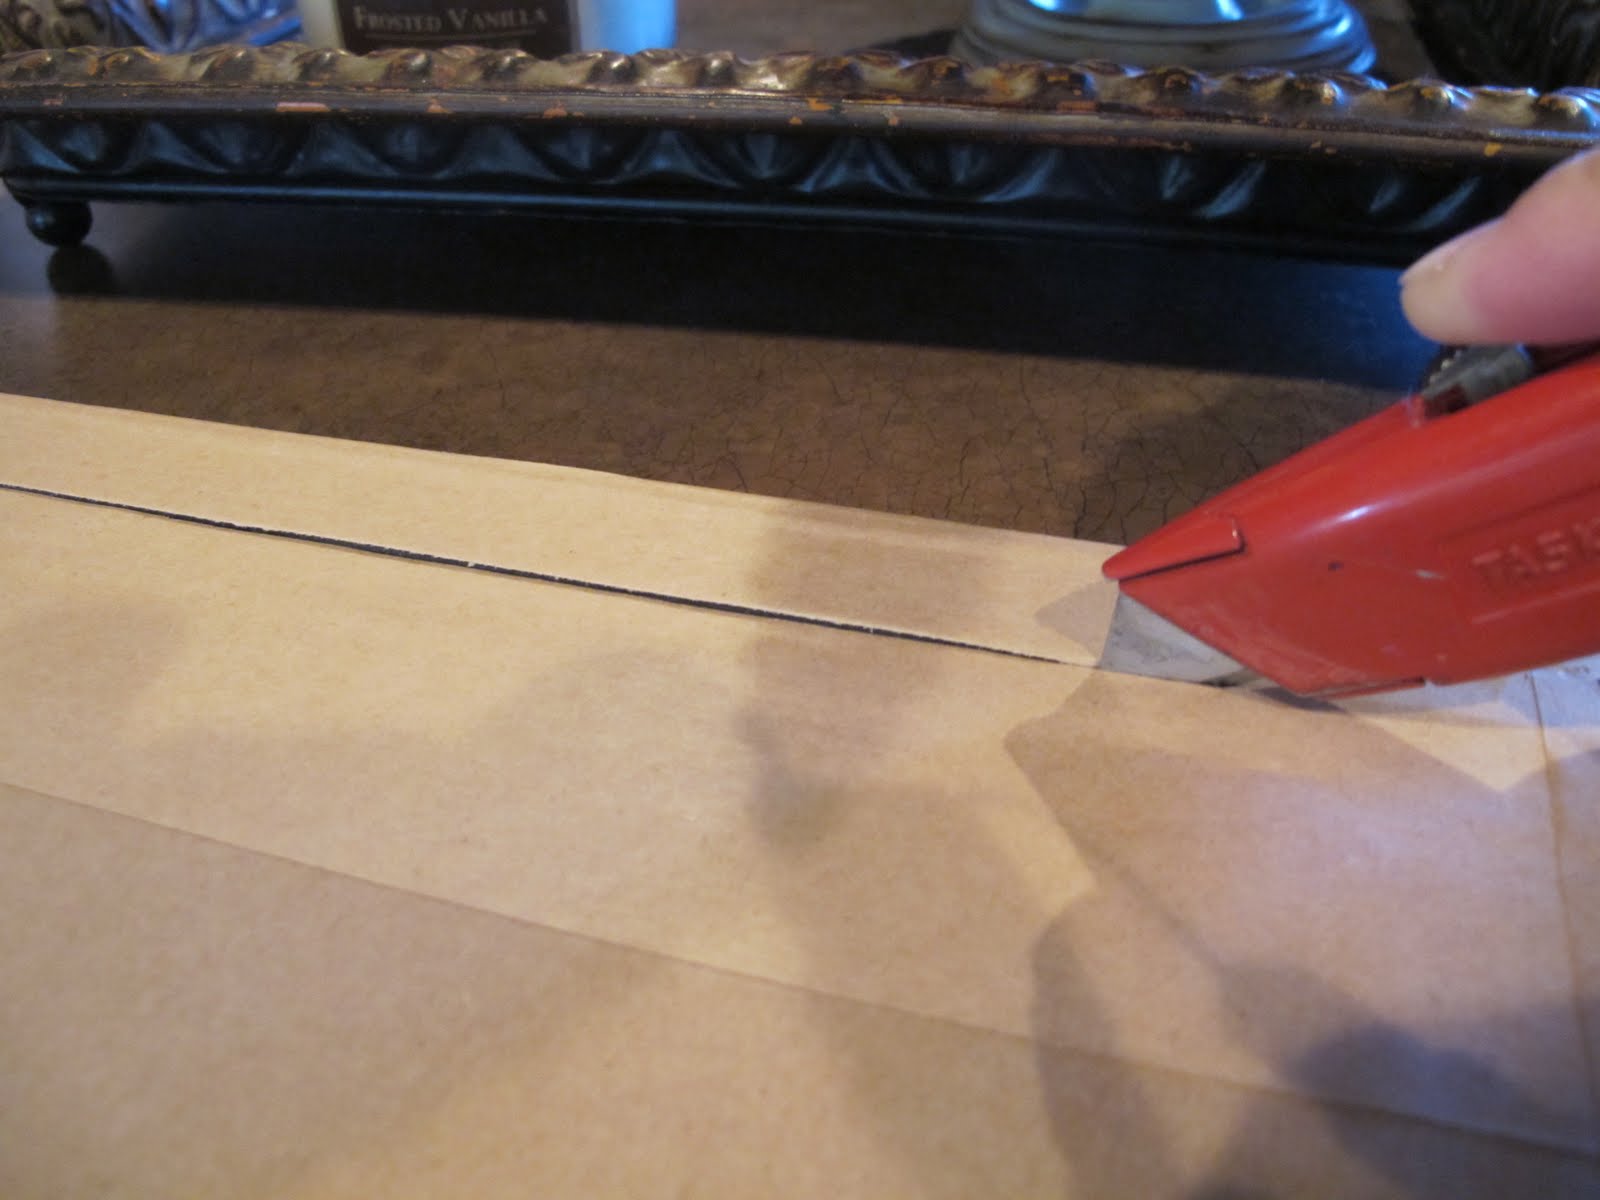
I printed a stocking template from the Martha Stewart website and increased the size 300%. You can find that here: http://www.marthastewart.com/275308/christmas-templates/@center/307034/christmas-workshop Cut the stocking out of the osnaburg fabric and use the ticking as cuff of the stocking, for toe and heal patches. The cuff, cut two rectangles 8" x 6".
Place the patches in place on the front of the stocking and machine basted it in place just where the stitching will be visible. The other places the patches will be actually in the seam. The top of each cuff do a double 1/4" hem, this will eventually be the bottom of the cuff. Attach the cuffs to the top of the stocking and put the wrong side of the stocking to the right side of the cuff. I made one small mistake here, I should have sewed the cuffs together, right sides together first, then attached them to the stocking. I didn't, and had a raw edge in the end on my cuff seams showing. Once the cuffs were in place, I sewed the front and back of stocking together, with right sides facing each other.
Once front and back are sewn together, turn them right side out and fold cuff over. This is where my cuff shows raw edges. However, for this look, it didn't bother me so much and I just kept it that way. I chose to fray the raw edges of the patches a bit too.
Attach a hang loop either to the corner or back of the stocking. You can make one from the fabric. I chose to use a plastic ring. When attaching rings, a fast process is to put your stitch length I '0' and use a zig zag stitch over the top of the ring several times.
Once I finished the stocking I hung it on my bulletin board trying to do a floral arrangement inside it. I used styrofoam for the flowers and filled the stocking with plastic bags. Getting frustrated, I pinned the stocking in place on the board and realized, that it looked pretty good there. So, I covered the board with burlap and hung the stocking there instead of my front door.

11.25.2011

Button Wreath

I got this lovely idea from Pinterest. Out of courtesy I should share that it came from this website: http://gallopingpony.wordpress.com/2010/10/17/fall-retreat-2010/ I used a frame I have, I believe it is 14 x 14 and took the glass out.
I used a wreath I hade to make the circles as a guide to know where to put the buttons. However, I decided that it was to narrow and found something a little smaller to form a new inner circle. I used a 12x12 scrapbook paper.
I then simply hot glued all the buttons within the circle guides and then glued the bow on. It's that simple.

Bringing the Outdoors In

I am a wanna be gardener. I love fresh flowers and miss them a great deal when it gets cold. A few years ago I began saving my pruned hydrangea heads, drying them out and using them at Christmas time. This year I have added them to the Christmas tree, garlands and to this arrangement I threw together today. Note: To dry out hydrangeas, I simply throw them in paper bags and leave them in the garage until Christmas. I usually prune when they just start to turn brown, so I get more green. But this year I was a little late. I have this beautiful vase that in all honesty is usually put away. I'm always afraid the kids will break it.
I simply added styrofoam, put branches in from our curly willow tree and added the dried hydrangeas at the base of the arrangement. I added some Christmas sparkle with the beaded garland. It looks really pretty. Somtimes I think the photos don't show things very well. I need a photographer to come over. Hope you are enjoying decking your halls! Only 5 more posts to go for our month of Christmas Crafts!

11.24.2011

Christmas Wall Art

Happy Thanksgiving to ya! I am about to get busy making pies and the sides while the turkey is already in the oven. I wanted to create one thing for today, and it is simple. Jones Design Company has a few free printables once in awhile and got this Christmas print at: http://jonesdesigncompany.com/holiday/christmas-goodies-week-art-print/ I started with this:
I opened up the back using a box cutter.
I then centered the printable and secured it with masking tape. I replaced all the backings of the frame and hung it. I LIKE!

11.23.2011

Front Porch Christmas

We are having beautiful weather here in Kansas City, so I decided to put up my three Christmas trees on the front porch. I have always liked the skinny little pine trees, especially for outside. I utilize my flower pots to put the Christmas trees in. A couple of years ago, I found burlap coffee bags, and decided to put the pots in the bags this year. Unfortunately, the center pot is too big for the bag. One of the challenges we have is that our front door faces the south. So, we get a lot of wind in the winter time. Every year we have a tree that has fallen down. My dad helped me and the two larger trees we actually wire to the pot. It works beautifully.
Once the trees are sturdy, on top them with oversized ornaments. I think it looks fun for outside. I secure them by twisting the wired pine brances through them, around them, whatever it takes.

11.22.2011

Oh Christmas Tree

This was a really fun little craft to do this evening. I used: 6" styrofoam cone pages from an old hymnal circle punch (1 1/8") hot glue old candle holder
I punched a bunch of circles from music from a hymnal. I then curled the circles by wrapping them around a pencile for a few seconds.
I then began hot gluing the circles onto the tree covering the styrofoam thoroughly. I layered the circles atop each other. One row I began gluing to the left and the next to the right. I don't know if it made a difference, but I wanted to avoid uniformity.
I continued almost all the way to the top, leaving about a 1/4". Next I cut approximately a 3" square from the music and made a cone shape, securing it with hot glue. I then cut the cone bottom to make it even, and hot glued it to the top of the tree, overlapping the circles.
I added more curled circles atop the cone, and then hot glued it to an old wooden candle holder.